
Understanding Aperture
Aperture- what the heck is it? And what does it actually do?

Aperture aka f-stop, f-number, aperture number
Aperture is one of the three pillars of photography- which is a posh way of saying that along with ISO and shutter speed, it's really damn important. The good news is, you can put your camera on auto mode and it can sort everything for you… However, if we want to step away from this and gain more control over our photos, we have to understand what these ‘three pillars’ are doing and why they are so important- starting with aperture!
What exactly is aperture then?
Good question! Basically aperture refers to the opening of the lens which allows light into the camera- depending on how big the diameter of this opening the more or less light that will enter. This diameter/size of the opening is expressed as an f. number such as f/1.6, f/10 etc.
Annoyingly, the smaller the number the bigger the aperture and vice versa, which is a bit confusing but you will get the hang of it. For example, f/1.4 is very wide and lets a lot of light into the camera, whilst something like f/20 is very small and only lets in a tiny bit of light.
What does this actually do to your photo?
Primarily, changing the aperture will affect the exposure of your photo. Now, depending on what setting you are on, the camera may adjust the other two pillars to compensate. For example, when in aperture priority mode your camera will adjust the shutter speed to compensate for this.
Okay, what’s the point of changing it then?
Well, changing the aperture will also affect the depth of field; how much of your photo is in or out of focus. The wider the aperture the narrower the focal plane and vice versa. This is great for changing your photos to focus on different elements or areas.
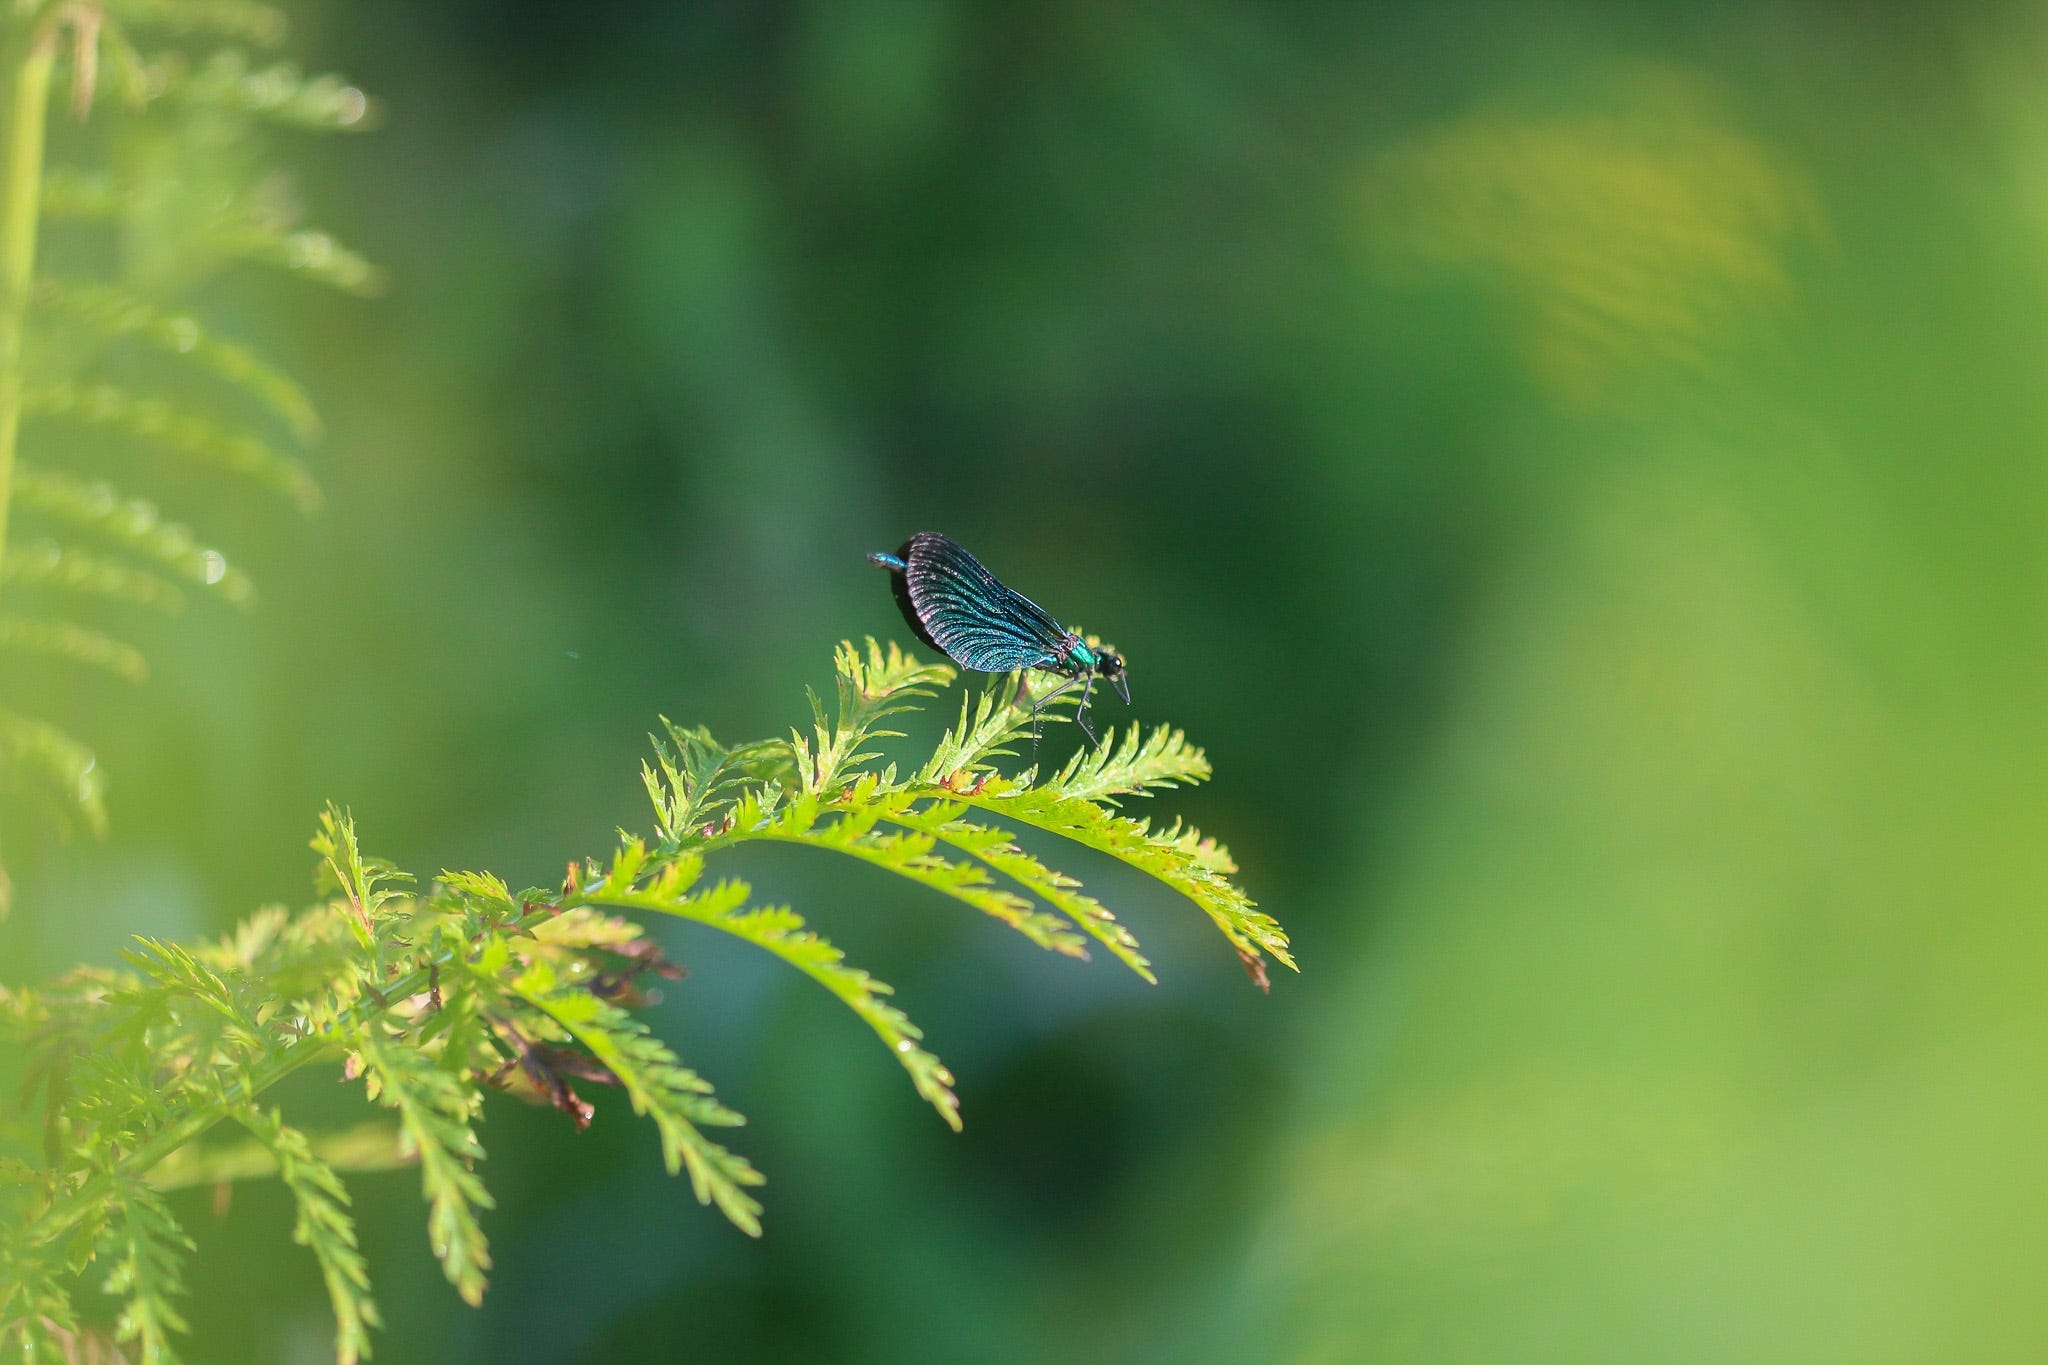
For example, if you want to photograph a bug on a flower you might choose a small aperture number so the focal plane is small and only the bug and flower are actually in focus, with the rest of the background blurred. Meanwhile, if you wanted to capture a whole herd of cows you might choose a large aperture number so a lot is in focus.
How do I test out aperture settings on my camera?
The great news is most cameras have an aperture priority mode! Which is perfect for experimenting because it allows you to change the aperture while the camera re-adjusts everything else to work around it. You can then go around shooting in all different aperture settings to see what you like to use most with your camera and lens. A great exercise can be to choose something easy to focus on (such as a drink on a table) and take a selection of photos changing the aperture number each time. This way you can properly see the difference it's making in your images, and what you do and don’t like. Remember there is no proper way to do photography, they are your photos and if you are happy that is all that matters.
Bokeh.. Sorry what now?
This week is all about aperture not bokeh (which we will get onto in another edition). However, it is something to be aware of because it may come up in reference and you might just want to use it in the future! Bokeh - from the Japanese word for blur, refers to the aesthetically pleasing blur of out of focus areas in a photograph. Which sounds really confusing and it does not help matters when I tell you it is less a technical setting and more a creative choice. Essentially, bokeh is the art of making the out of focus area in your photographs ‘pretty’, a good example of bokeh can be seen in shots that have lights in the background; such as Christmas lights, or street lighting. It can be a great tool for making a photograph seem less distracting, isolating the subject, and freezing a scene; as though the viewer is stepping right into that moment.
Gear Spotlight: Camera strap
Gear spotlight is the section of the newsletter where I explore and review some of my favourite wildlife photography gear. However, there is a little bit of a twist to it, not all the gear I will be discussing is camera equipment… I’m no tech expert and am in no place to compare that sort of thing. However, I think camera equipment is only the tip of the iceberg for gear and it’s all the other stuff you carry along the way that can make a difference.
You may think that the most important piece of equipment is your camera, well this would be incorrect! The most important piece of equipment is the camera strap! You’ve gotta be wearing that bad boy around your neck every time you want to shoot something and neck pain is not where it’s at.
Okay, I’m being slightly dramatic but on a more serious note I do think the camera strap you have is important and you shouldn’t just settle for the branded one you get with your camera, as these can often be bad-quality in terms of comfort. One of the first camera-related things I purchased (aside from the camera) was a new strap. I purchased the peak design slide lite and have been using it ever since! It is great for a number of reasons; firstly, comfort, the material and the thickness are just perfect for me. Furthermore, it unclips at the camera meaning it is VERY easy to take off and adjust. If you are using the strap that came with your camera and ever need to take it off you have to go through the whole undoing process which is a right faff. I recommend doing some research and figuring out what would best suit you and your needs.
A tip from the field:
You might have a difficult time going to low or too high with your aperture settings, don’t worry! It’s all about practicing and finding out what works best for you!
Community Challenge #6
This week as the newsletter is all about aperture! Why not share some of your aperture experiment results? Or, just let me know how you get on testing out aperture priority! Share it here, on the Shutter Squirrel chat or use the #shuttersquirrel